
Watch our short video tutorial or read on for our guide to basic photo retouching in Photoshop and how to remove an object in Photoshop.
*Video transcription provided below*
Hi, my name is Nathan Lomas,
Today I’m going to give you an introduction to basic retouching in Adobe Photoshop.
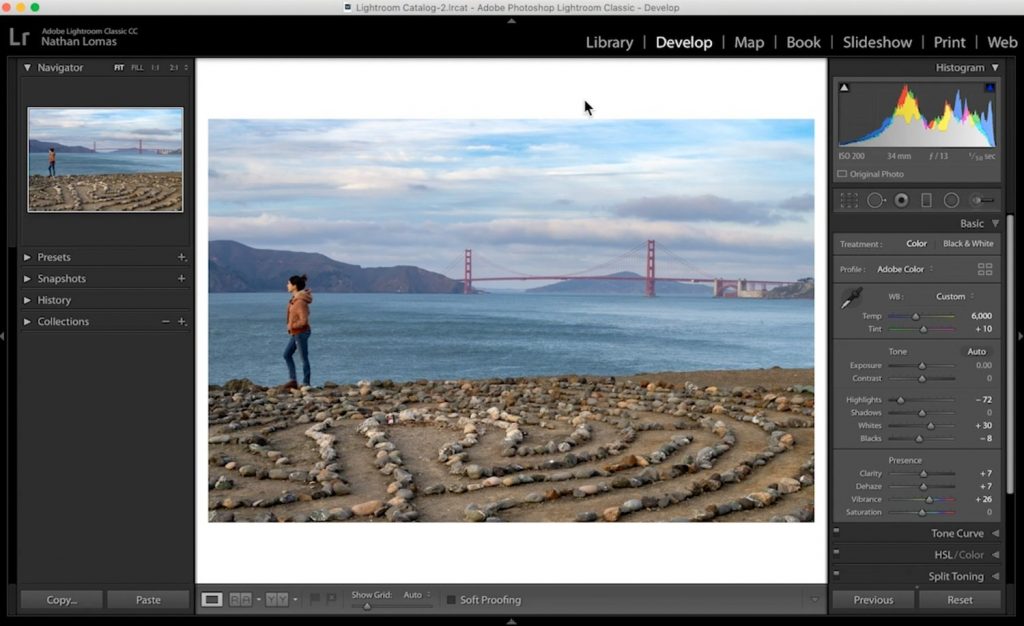
So here I am in Adobe Lightroom Classic. I have an image that I would like to do a little bit of retouching on. I’ve just done some basic adjustments to it and I’m going to go ahead now and hit Photo from the top, Edit in, and Edit in Photoshop which is going to allow me to do some more in-depth retouching than Adobe Lightroom Classic is capable of.
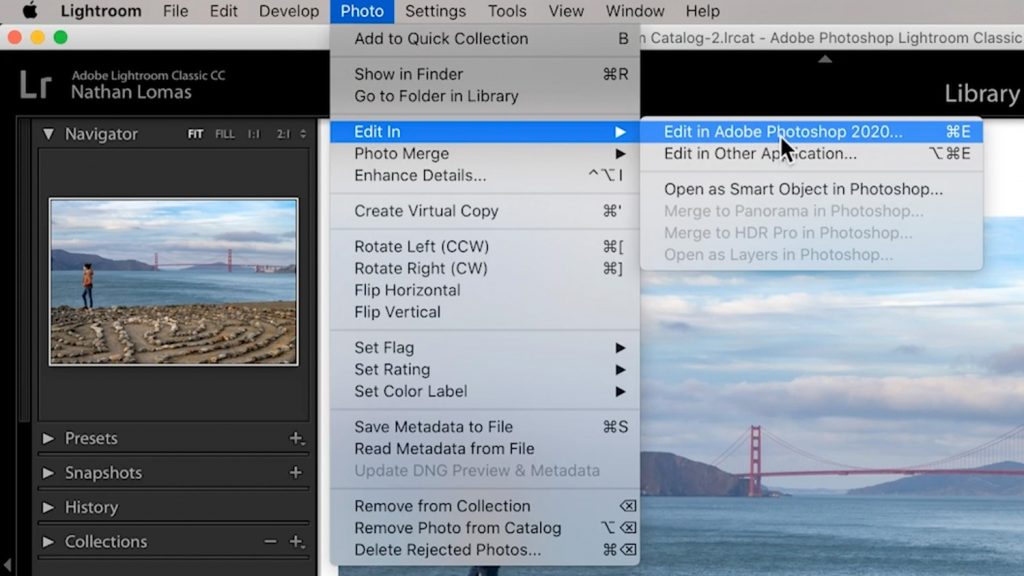
This may take just a moment, but what will happen is they’ll take any changes you made to the image in Lightroom, apply those to edit version of the image, and then launch it in Photoshop.
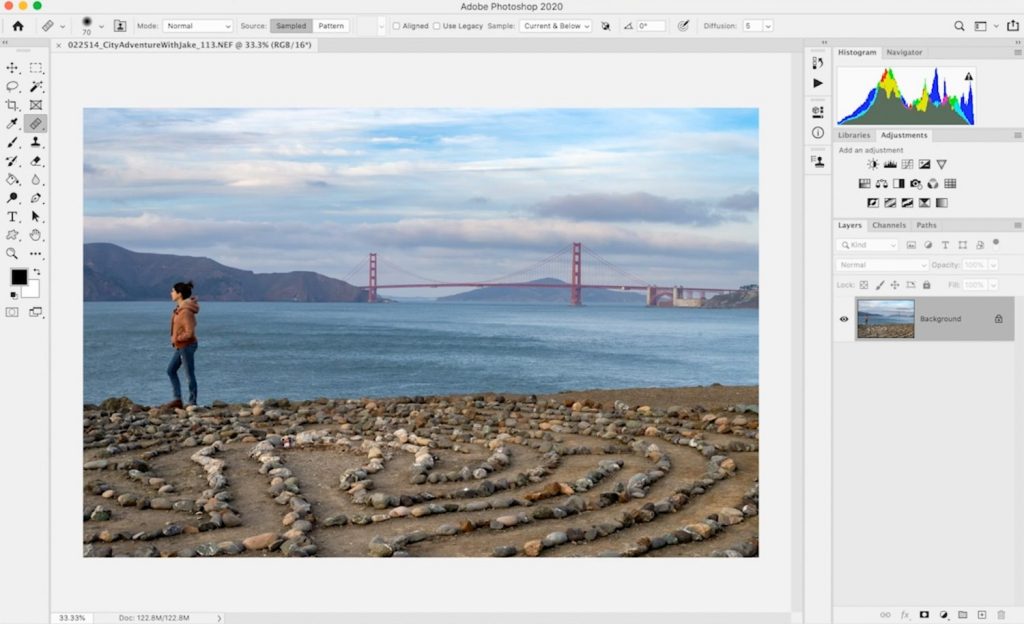
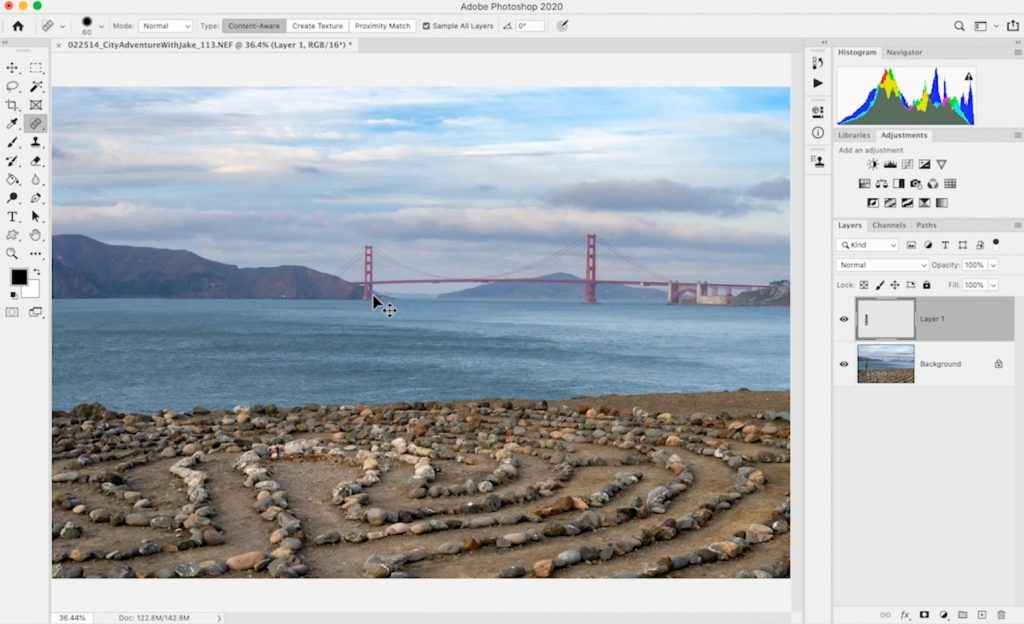
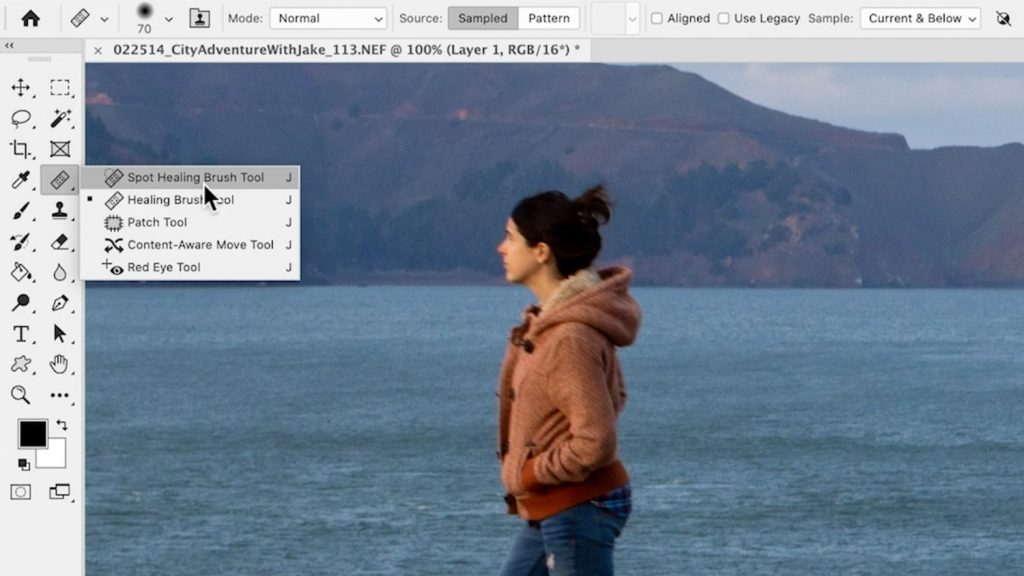
So let’s say I am overall happy with the image, but I want to get this person out of the frame.
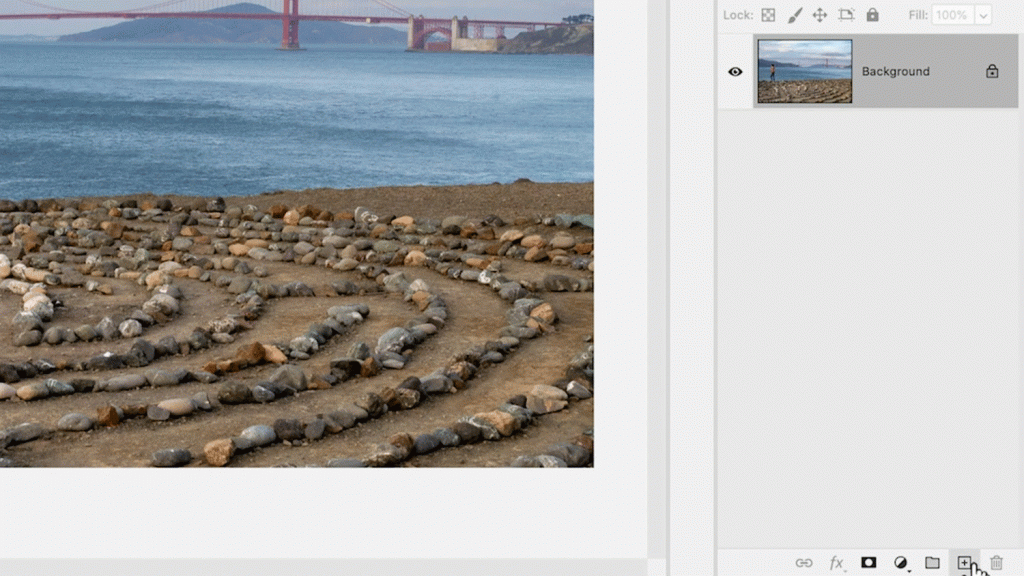
The first thing I’m going to do is I’m going to come over to my Layers Panel, in Photoshop and I’m going to hit this icon to create a New Layer, over the top of our Background Layer.
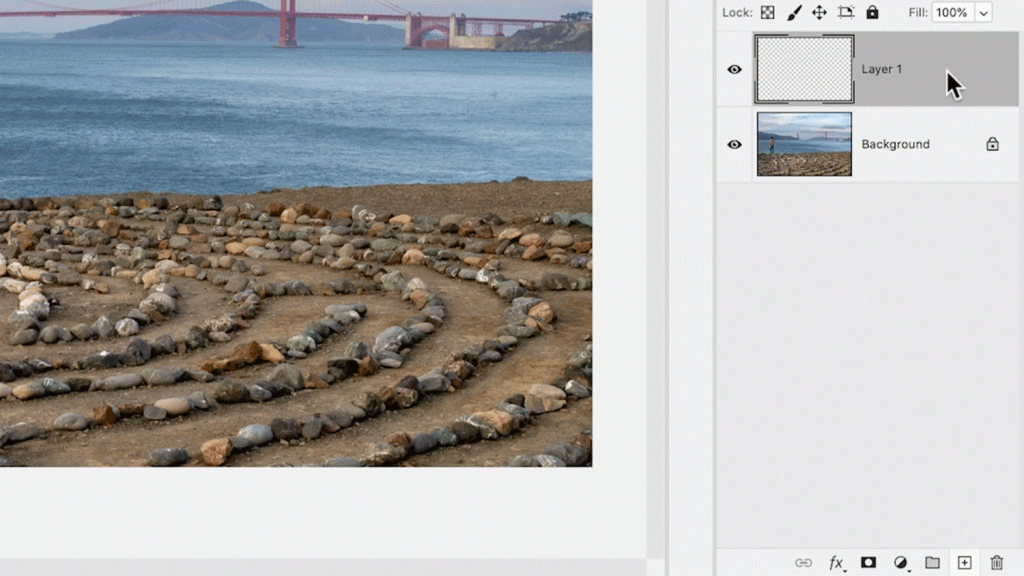
This is generally how we should always do retouching: on a New Layer over our Background Layer.

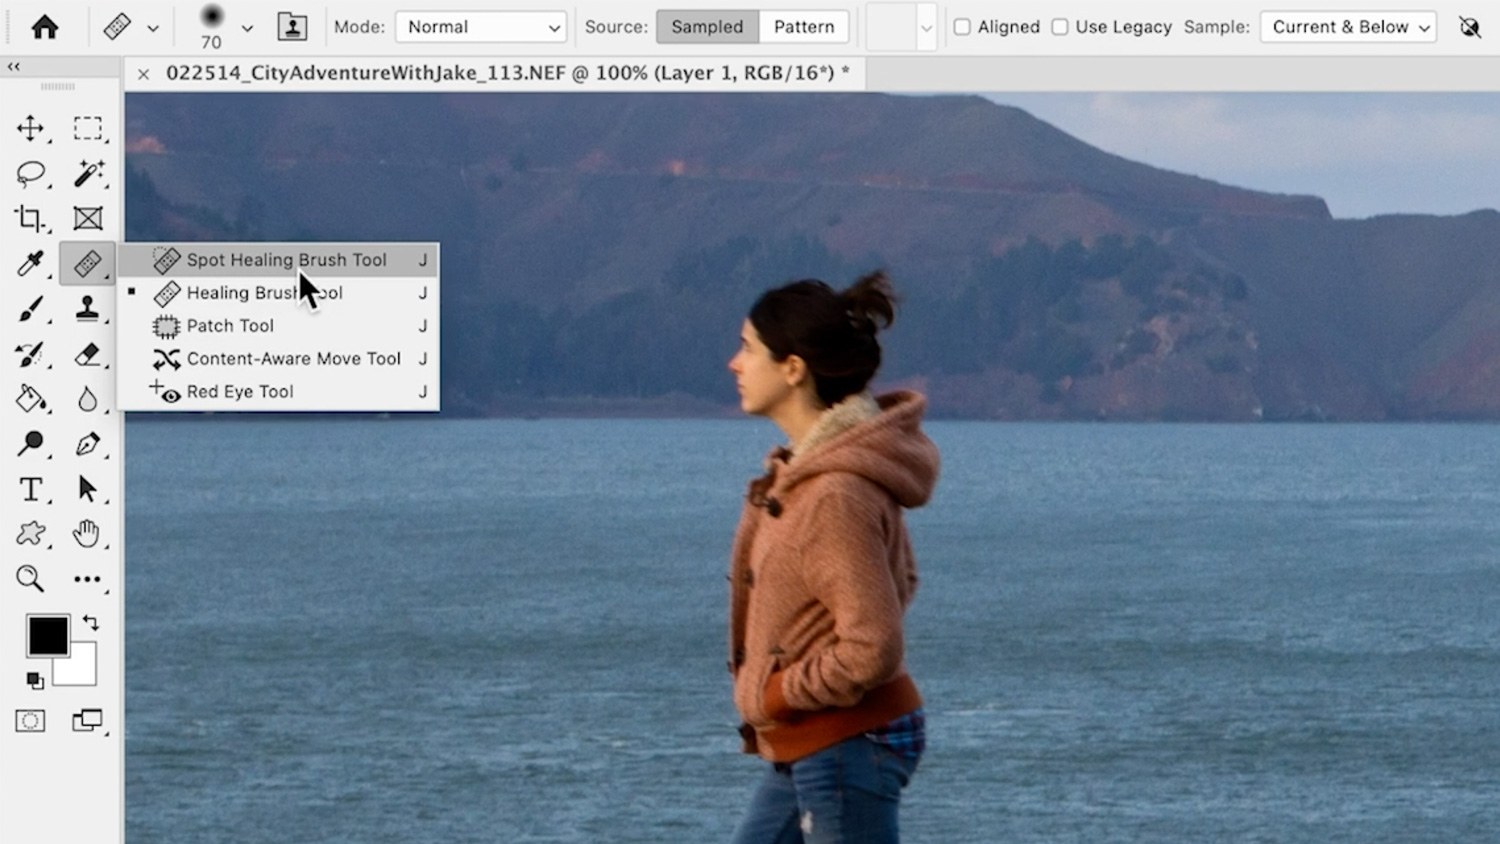
I am going to a zoom in on our person that would like to remove from the frame. In this case, I’m just going to opt to use the Spot Healing Brush Tool which is a pretty intelligent tool overall. The Spot Healing Brush Tool is going to look at all of the content in our image.
If we simply paint over the figure that we are trying to remove there’s a lot of good area for this tool to pull from. It sees all of that water detail, it sees the landscape in the foreground, and it has a pretty good idea of what it should use to patch this area over with.
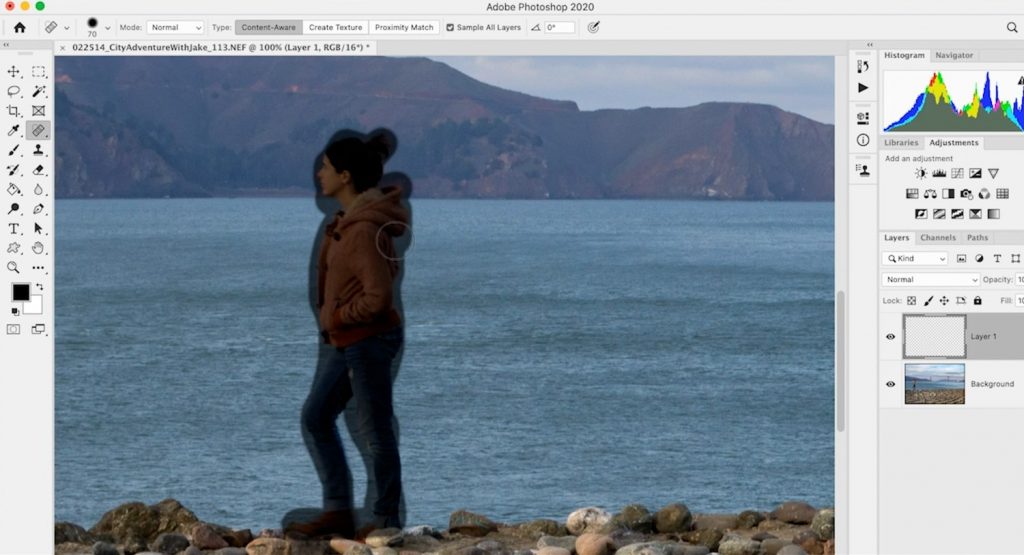
I’m simply going to brush over the entirety of the subject, and we’ll give it a shot and see how the tool does. When I release, it’s automatically going to make a guess as to what to fill that content in with. And it may take just a moment to do that.
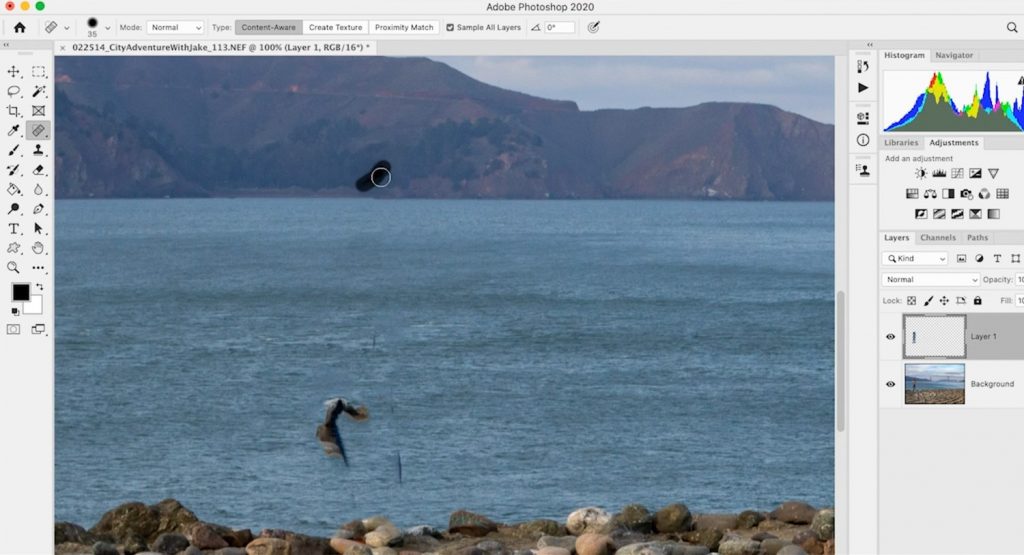
We can see that overall it did a decent job. There are a few areas that we need to hit again, and let that fill in, but overall not too bad. I just need to go over these once again, one at a time, and just get it a little bit more specific. Alright, that’s not looking too bad.
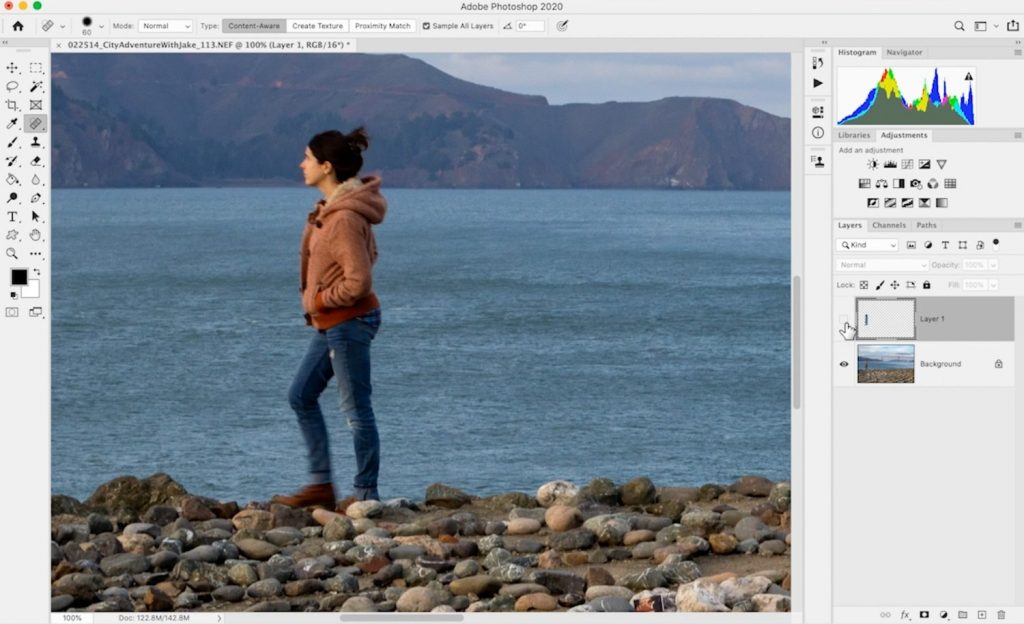
So what we end up with is our original image is on the Background Layer, we have our retouching on top so that if we turn that layer off, we get back to the original image. So our retouching has taken place on Layer 1.
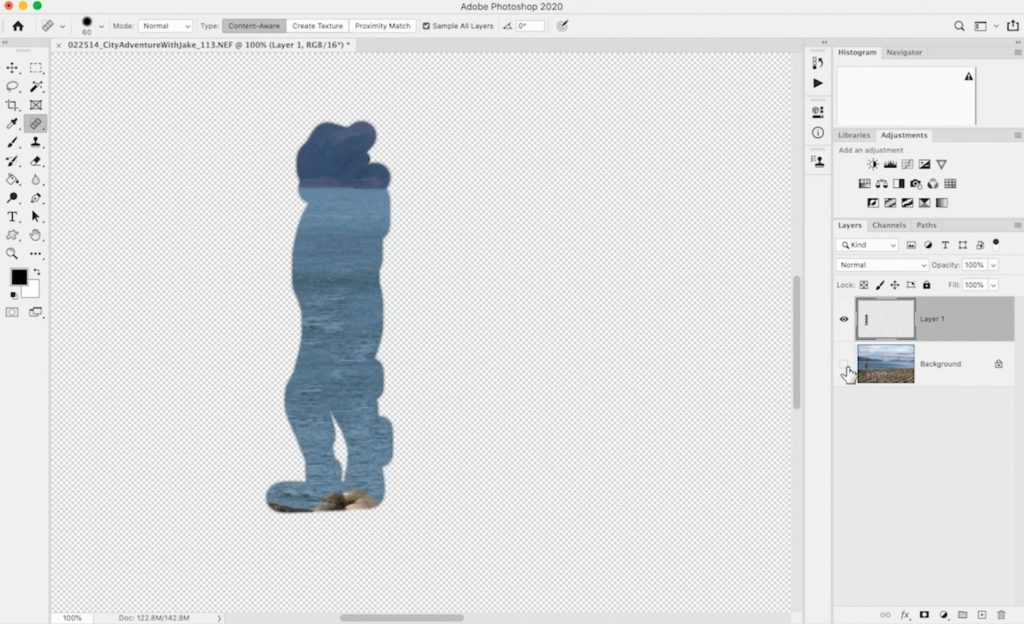
Our original image is on the Background Layer, and if we turn THAT off, we can see the retouching that is sitting on top of that image. This is essentially the basic principle behind all retouching. You have retouching taking place OVER your original image.