
Hi, my name is Nathan Lomas,
Today I’m going to show you one method of replacing a sky using Adobe Photoshop.

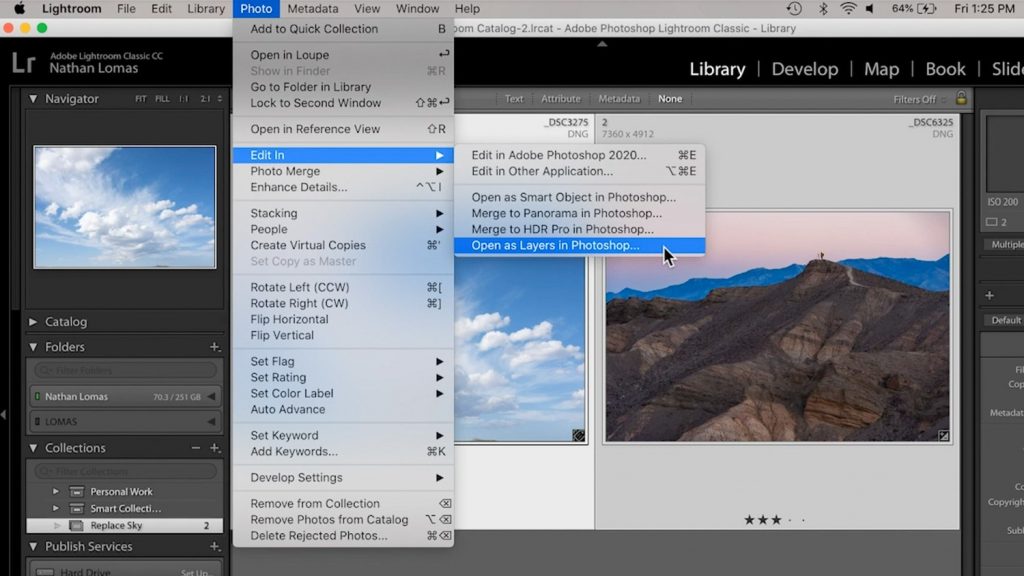
Alright, so here I am in Lightroom, and I have two images, and I want to drop this more dramatic sky into this image.
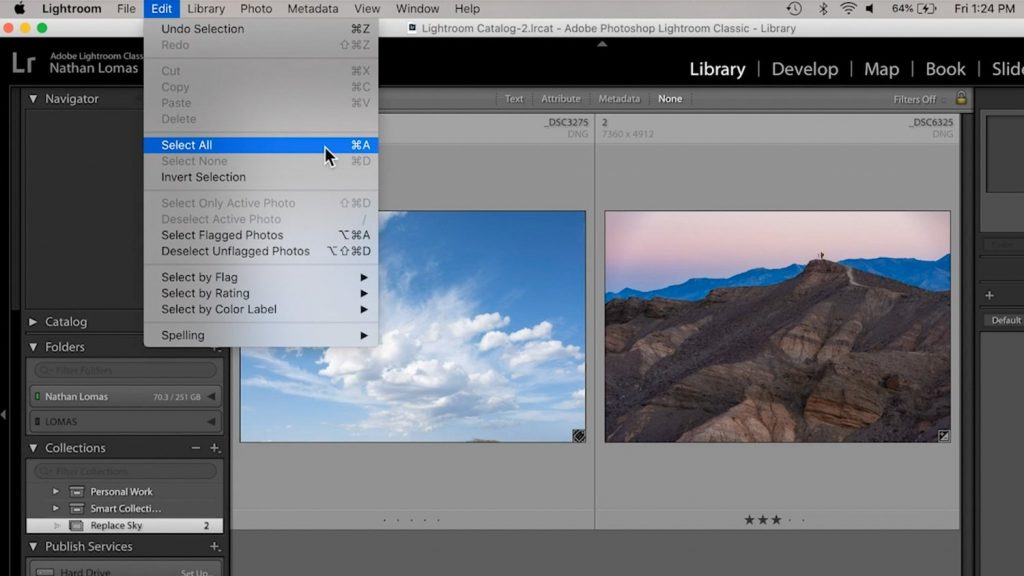
I have them in a Collection here just so they’re easy to find, and I now I need to select both of them. I’m going to go up to Edit, Select All (or you could use Command A / ⌘A). Now that they are selected I’m going to use the menu Photo, Edit In, and I’m going to choose the last option here Open as Layers in Photoshop.
What that’s going to do is have Lightroom look at the development adjustments to each of these images, and then ship them over to Photoshop into the same document, so that they are stacked on different layers one above the other. This may take just a moment.
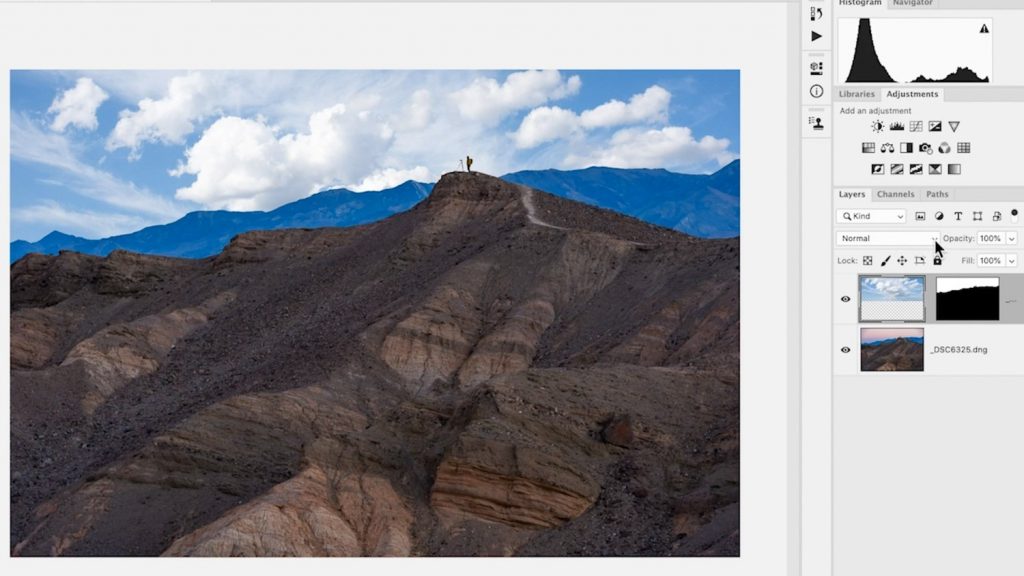
I now have both of the files open you can see over here in the Layers panel we have our more dramatic sky on top of our original image. So now I’m going to turn off the sky on the top (and let me stress that this is just one way to possibly replace a sky. There are many other ways to make a mask for this).
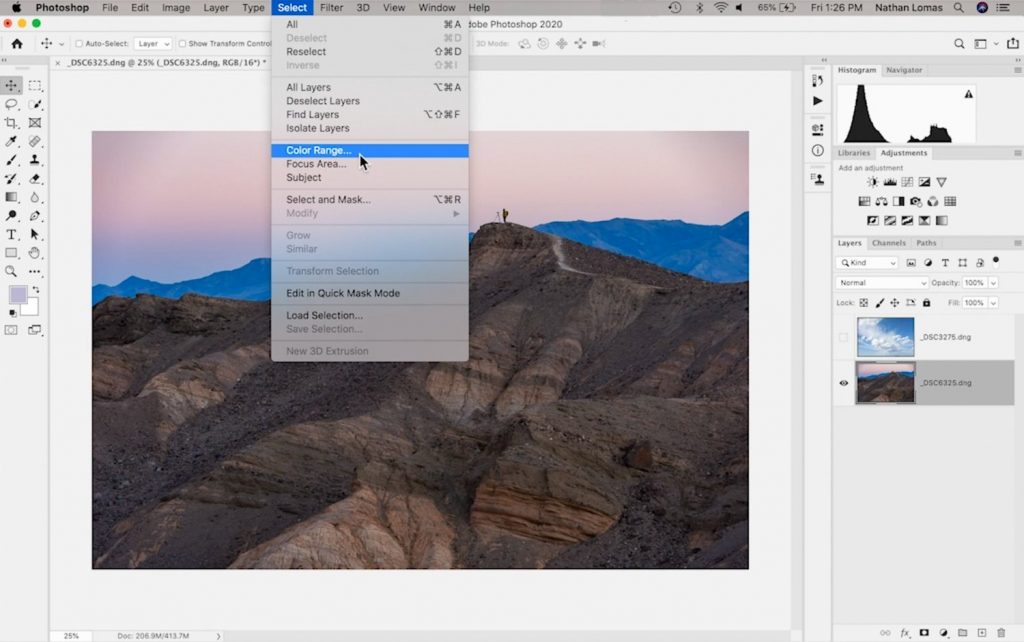
The reason that I’m going to do it this way is I have a lot of this nice even pink tone in the sky here. I’m going to select my bottom layer (my image) and go up to Select and choose Color Range. I’m going to try to make a selection based on the range of colors that’s here in the sky.

We get a menu box that pops up and we want to use is Sample Colors. I’m going to switch this Eyedropper tool to the one that’s the positive eyedropper, meaning that I’m going to continue to ADD to the selection as I keep clicking.
If I click once in here I’m going to begin selecting variants of color that are going to become apart of the finished selection. Anything that I see that’s white in here is going to be a part of the selection. There are a few things coming into the selection down here, but we’re going to remove those little later on.
What you can also do is try to adjust the Fuzziness slider. If you bring it over to the right, you’re including MORE tones that are similar to what you chose, and if you limit it lower you’re choosing LESS tones.
I’m going to opt to keep this a little bit on the lower side because as we can see it uses less of the information from down here and really just keeps most of the selection coming from the sky up at the top.
Once you’re satisfied with what your selection looks like you can go ahead and hit OK, and that is going to load a selection that we can use to make a mask.
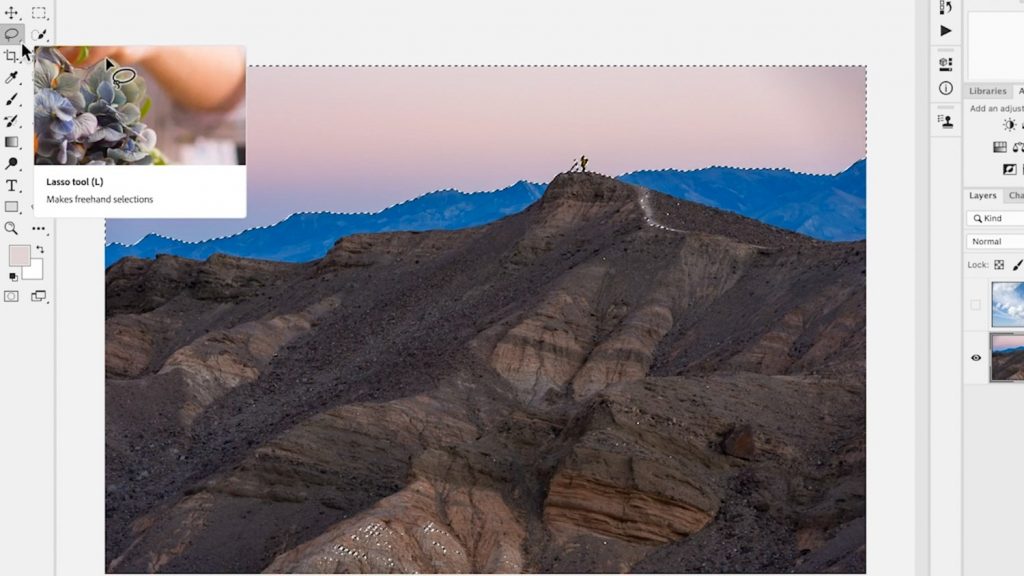
Refining Your Selection – The Lasso Tool
Now I want to remove these little bits that are included in the selection in the foreground because they don’t need to be part of this. I’m going to grab the Lasso tool and I’m going to hold down the Alt or Option key to get a negative Lasso tool, meaning I am now going to remove all of this content in the foreground from the selection: just loop around and contain everything there.

So now I’ve removed all of that information and we only have the sky selected up top.
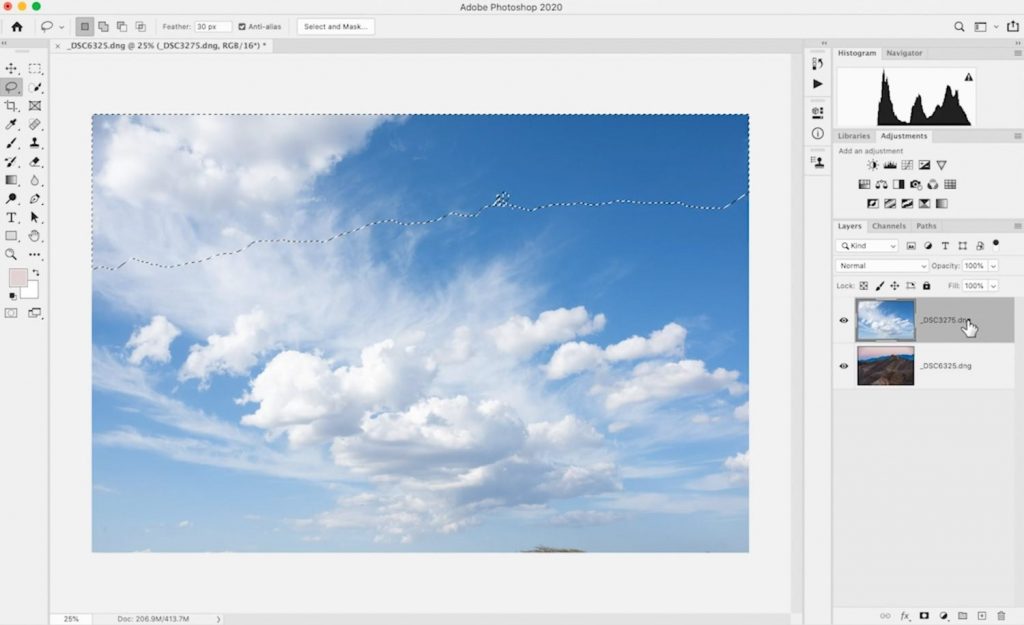
Now, what I need to do is turn on our original sky layer (select that layer now) and then I’m going to come down and hover over this tool here which is called the Add Layer Mask button. If I click on that when I have an active selection it’s going to create a mask for the sky layer. So we see that it created a mask here, so now it’s hiding that portion of the sky photo which sits on top and it’s allowing the sky to show through where we have white.
Unlinking Your Layer Mask
Now I can rearrange and recompose this sky, as I would like to. If I click this Link icon and unlink the photo from the mask. If I click on this Link icon, now I’ve separated the photo from the mask.
If I take my Move tool now I can create a more dramatic composition by choosing the area of clouds that I would like to see in the image. So I’m going to bring up some more of these nice clouds and get those higher up in the photo, so they’re a little bit more present. That looks pretty good.
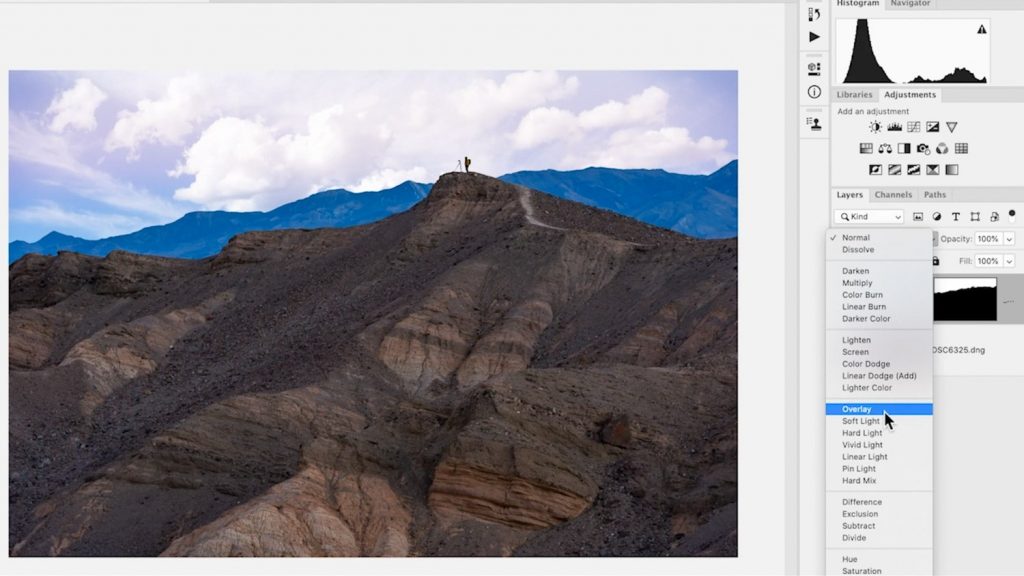
One other thing that you can possibly try is you might want to blend some of the original sky from underneath with the clouds on top. If I want a little bit of this pink tone I can play with the Blending Modes up top. Where it says Normal here. If I click that, I get this whole list of different ways that the top photo can interact with the layer beneath it, so I can find one that looks interesting to me.
I’m going to choose Overlay because I think it gives us a little bit of that sort of pink tone from underneath, but it keeps the sky nice and bright.
One last thing I can do is if I feel like this look as a little bit overdone, or a little too much, I can always take my layer Opacity down and make it a little bit less intense. Something like that I think looks pretty good and looks fairly natural.

So there you go: that’s one way to replace a sky using Photoshop.