Night photography expert Hendrik Paul shares tips for taking photographs after dark.
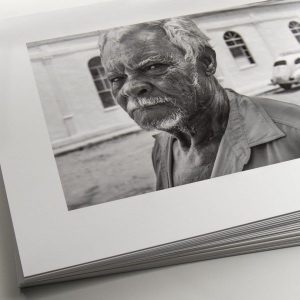
Fine art photographer Hendrik Paul is best known for his surreal black and white landscapes of the Marin Headlands, but he also likes to venture out at night to take ethereal images in both urban and rural settings.
Here our most accomplished night shooter shares his tips for night photography, from the best equipment to use to the best time to shoot, so you can start taking beautiful photos at night!
Night photography tip #1: Get a good tripod.
Even if you have the steadiest of hands, a good tripod at night is essential to make sure your long exposures come out sharp. A cable release is also recommended since the pressure needed to open the shutter can sometimes affect focus. You’ll also want a headlamp, for finding your way in the dark and setting up your gear, and warm clothes to stay comfortable during those cool, Northern California nights.
Night photography tip #2: Pick out your locations in advance.
Photographing by the ocean, beach, and mountain areas with trees are my top locations. Long exposures with the moon or stars and ocean are my favorite. We are blessed to be so close to the Marin Headlands where we have all of this! Pick out where and what you want to shoot in advance will allow you to maximize shooting time after dark. If you’re shooting traffic light trails, know which roads are busiest, or if shooting stars, make sure you have a clear view of the sky and a frame of land or sea to contrast it with.
Night photography tip #3: Shoot at both extremes of the moon.
Shooting at both extremes of the moon phase makes for very different photography opportunities. When there is no moon, star trails are easier to capture. And when the moon is full, it can be so bright that one can make a landscape scene seem like it was taken in the middle of the day—makes for some great and wild images.
Night photography tip #4: Film vs. digital.
I prefer film since digital does have some limitations when doing extremely long exposures (four hours). However, digital capture combined with digital post processing can make for some spectacular results.
Night photography tip #5: Don’t be afraid to make mistakes.
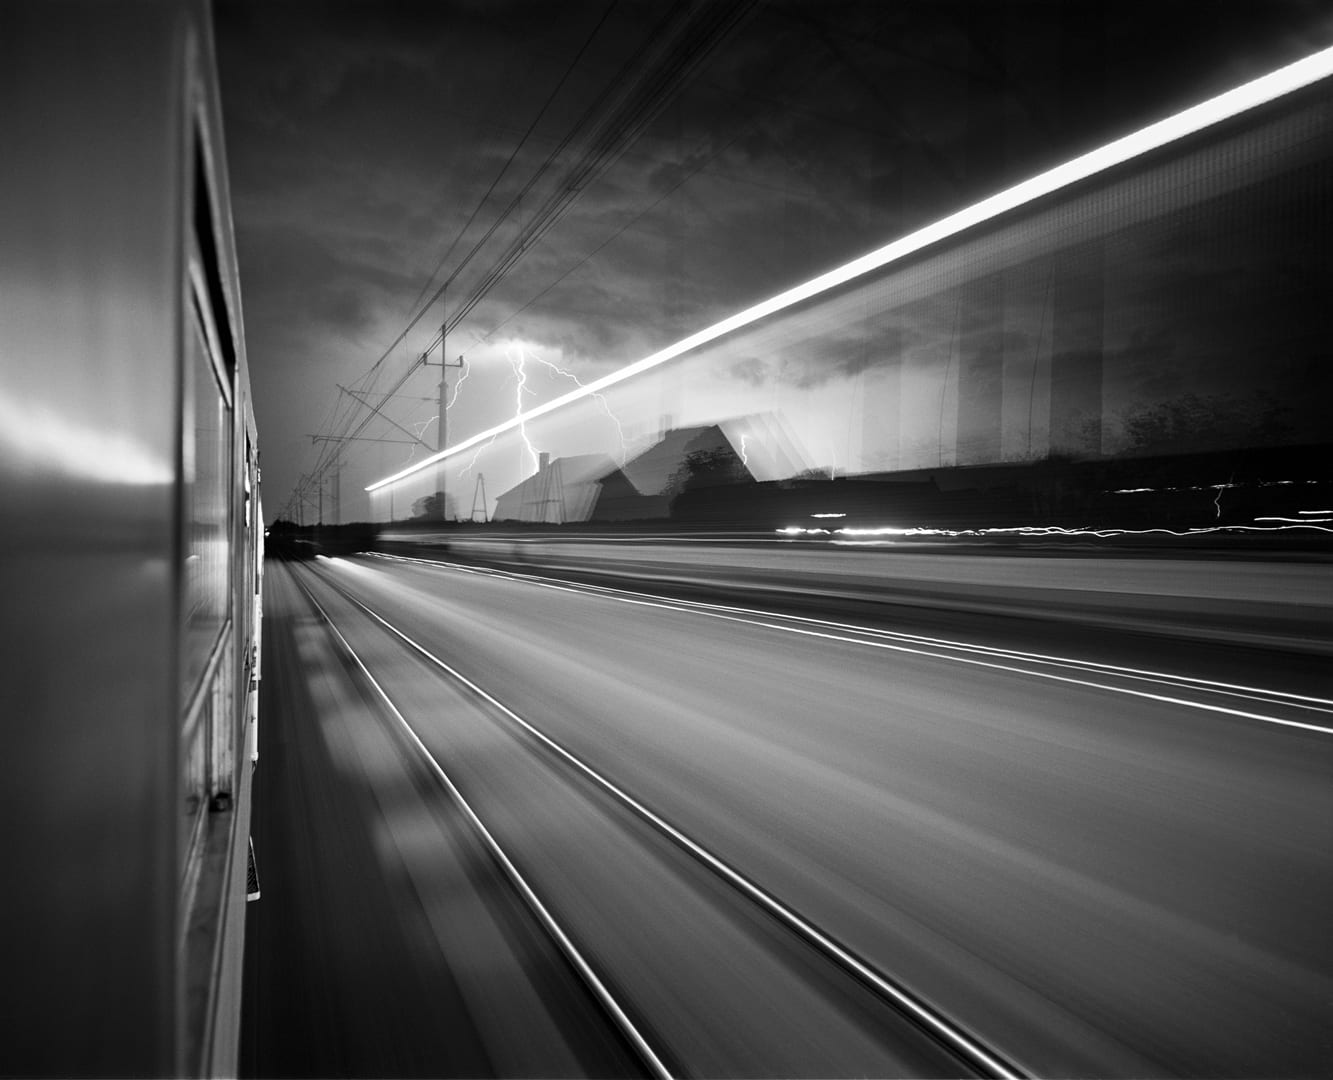
I’ve made some mistakes that have led to a truly beautiful outcome. I once made a few exposures from the window a night train and despite not using a tripod while on the moving train at night, I was able to capture a sharp, in-focus image (shown above). I used a small aperture, and with very little light outside coming into my lens, the lightning outside my window acted as my flash. I was guessing as I went along, but turned out even better than I had hoped. The moral of the story is, give it a try! The worst thing that can happen is you burn a few rolls of film, but when the results pay, they pay big!
For more tips, tricks, and advice on camera settings and composition for shooting at night, sign up for Hendrik’s Night Photography workshop starting March 2!