

Watch our short video tutorial or read on for our guide to setting your Lightroom Classic preferences for editing Lightroom photos in Photoshop.
*Video transcription provided below*
Hi, I’m Nathan Lomas,
Today we’re going to be discussing sending an image from Adobe Lightroom Classic to Photoshop using the optimal settings.
Sometimes you may have an image that needs further work beyond what Lightroom can do. Whether that’s in-depth retouching, specific masking, or other things that need to be done in Photoshop. The problem is we need to make sure that the image is set up to move to Photoshop in the best way possible, preserving as much data as we can. To do that, we’re going to look at some preferences in Lightroom.
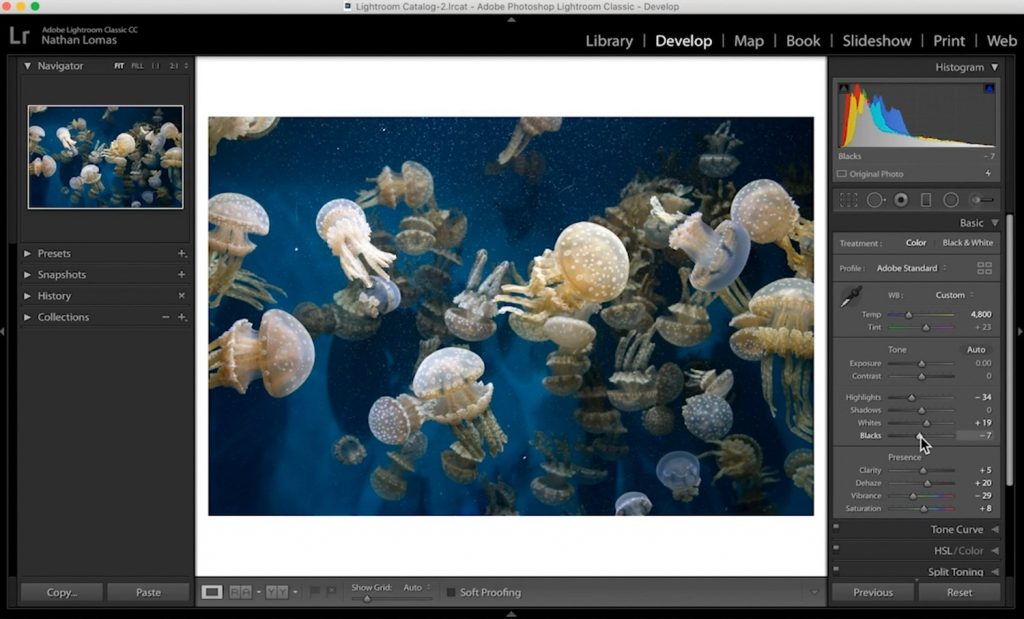
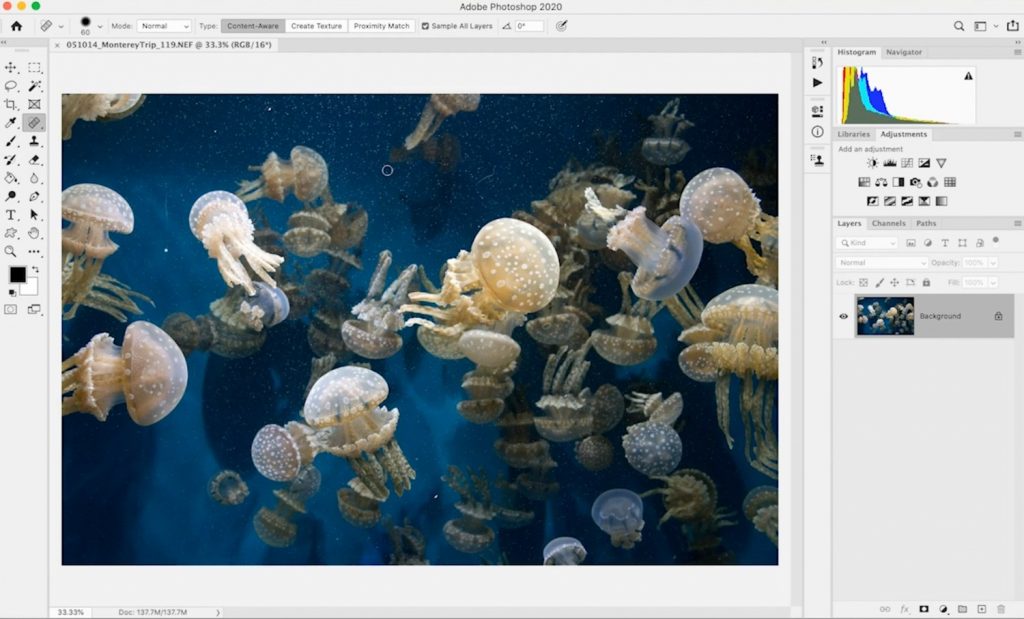
Let’s assume that this is the image I’d like to send to Lightroom. I’ve already done my developments to the best of my ability in the Basic Panel, recover tonality, etc. Do everything that you can in Lightroom first.
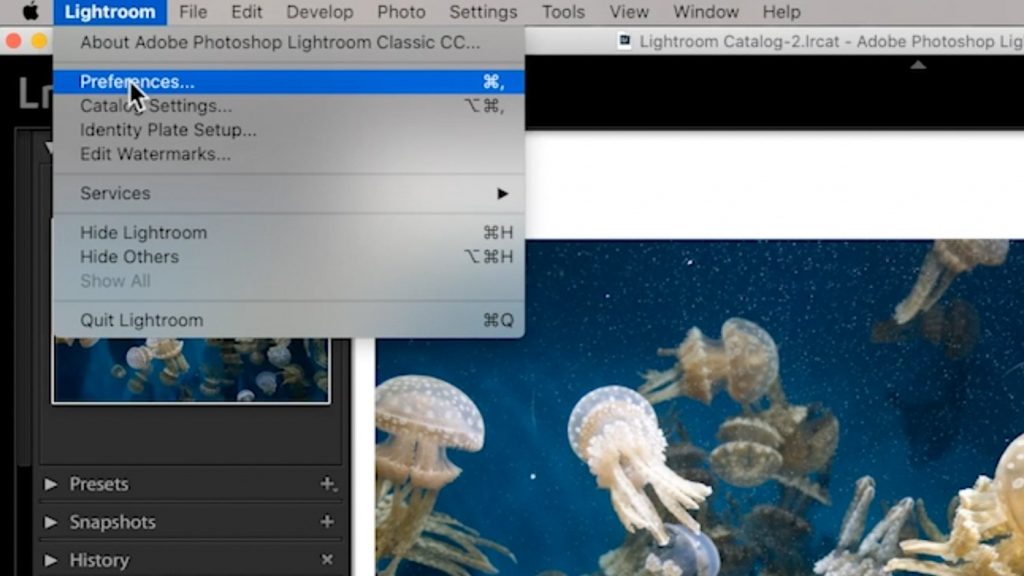
Then we’re going to come up to where it says Lightroom at the top here, choose Preferences, and we want to look at the External Editing tab. This is the place where we going to determine some settings for how our images get shipped over to Photoshop to work on them.
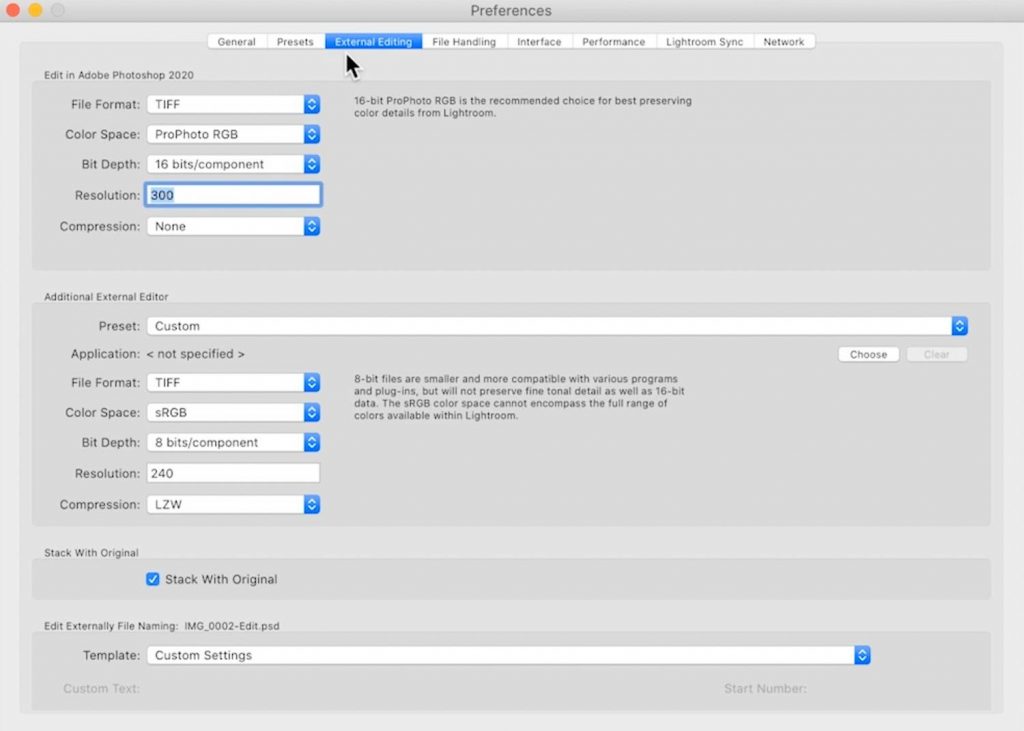
The first box here Edit in Photoshop will show the most recent version of Photoshop you have installed and it gives you some choices about File Format, Color Space, Bit Depth, and other options for how we want to ship the image over.
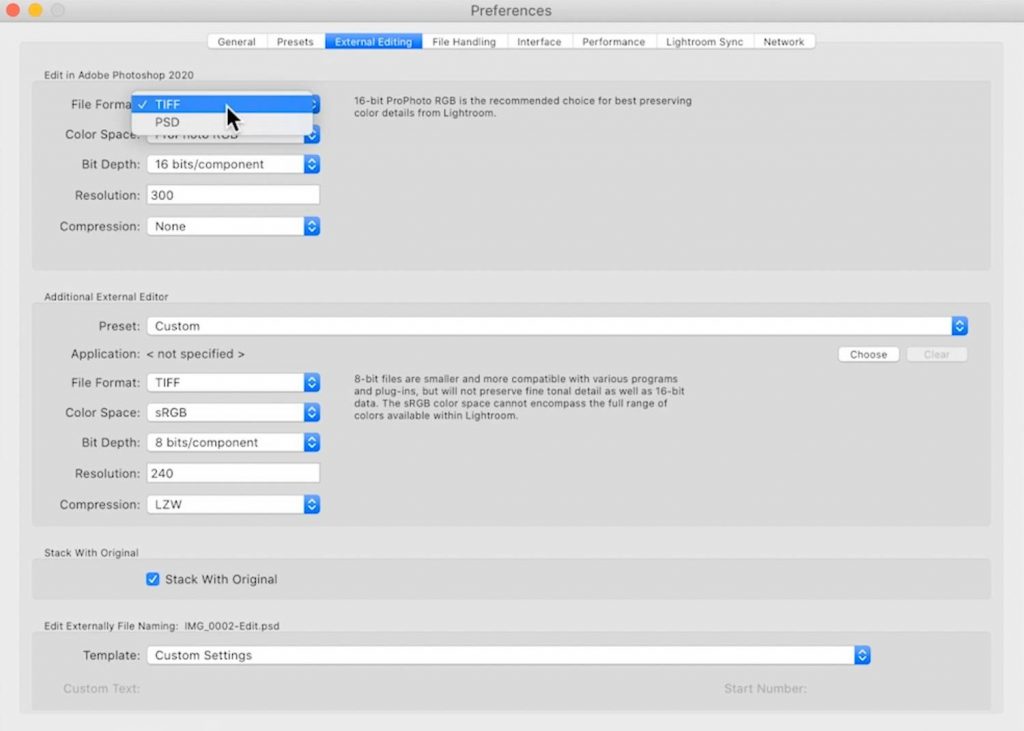
The two options that you get for file format are TIF file or PSD file. Honestly, either one of these is going to be perfectly fine the only real difference I would say is that TIF is a little bit more of a universal file type which can be opened in other programs and PSD, which stands for Photoshop Document, is meant to be specifically opened with Photoshop. I’m going to go ahead and use TIF just because it simply is a little bit more Universal and potentially could be opened in other programs.
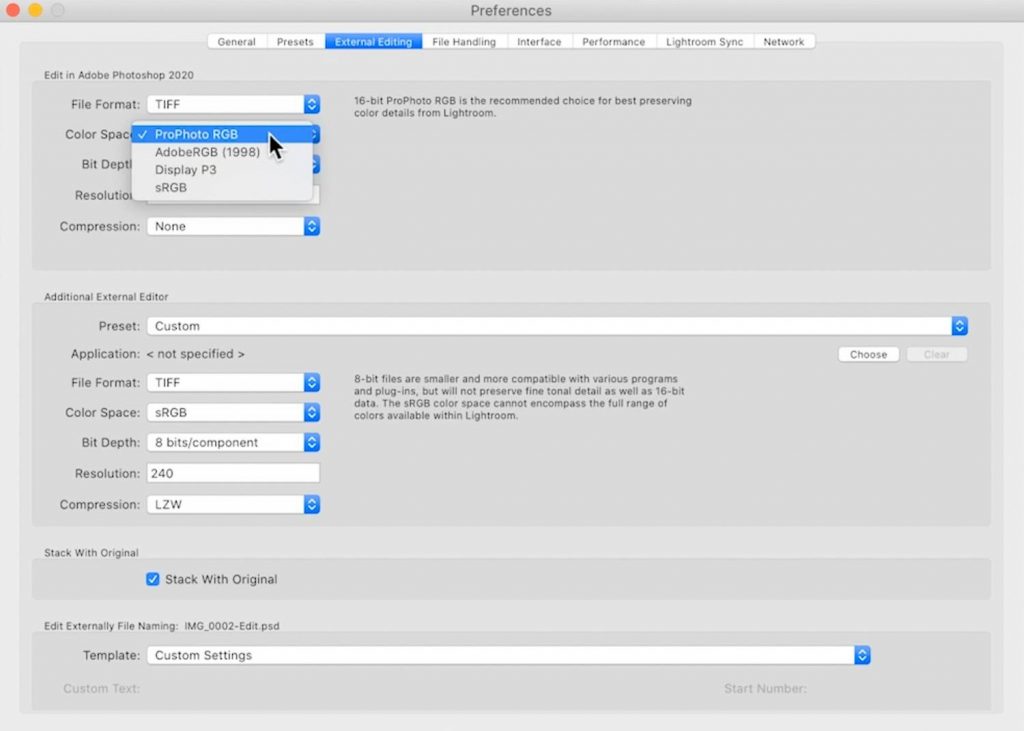
For Colorspace the options you get here are Pro Photo RGB, Adobe RGB 1998, your Display Profile, and sRGB. The optimal thing to choose here for anything that could possibly be printed that you want to retain the most information for is Pro Photo RGB.
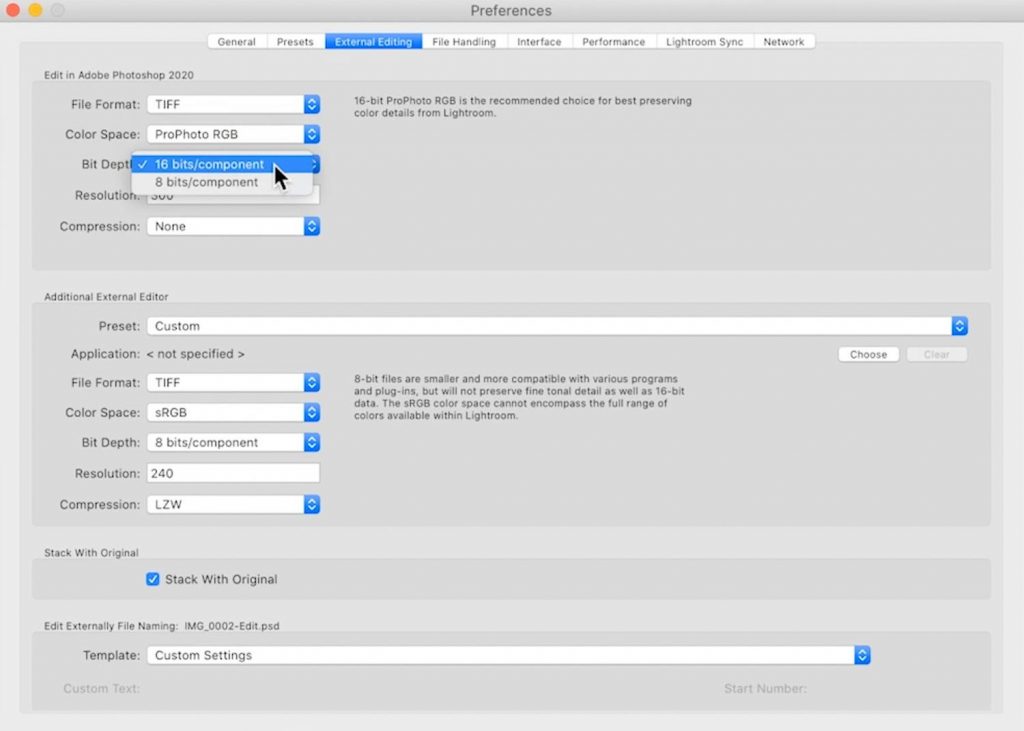
For Bit Depth more is going to be better here, it’s going to preserve more color data, so 16 bit is what we would like.
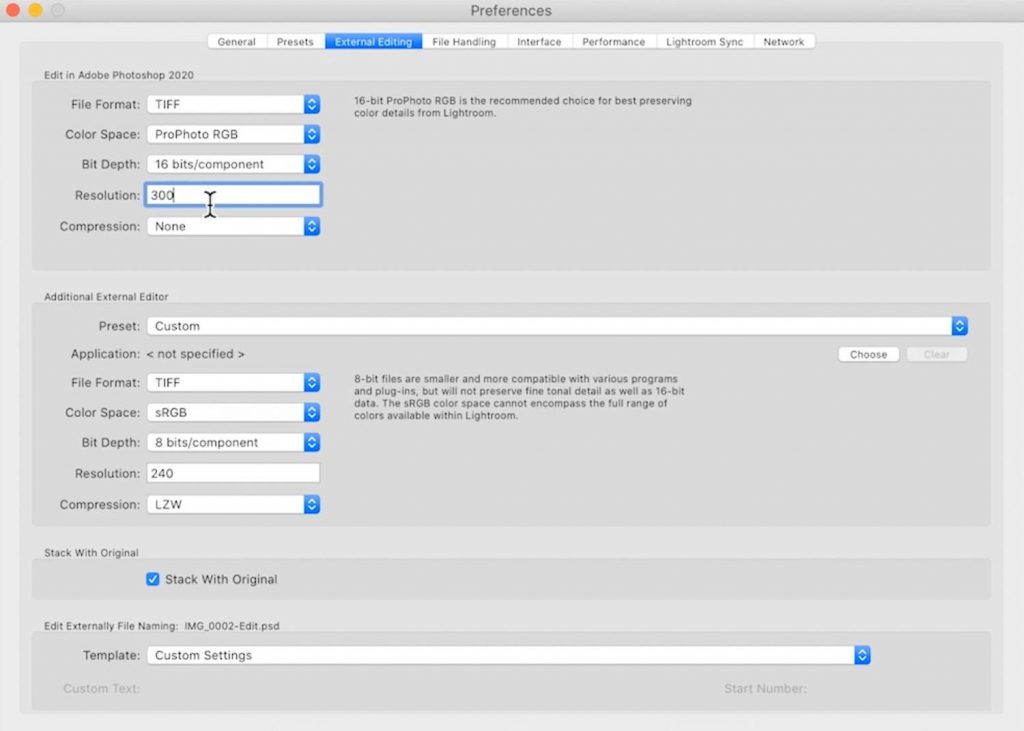
For resolution, a good baseline for resolution in printing is going to be 300 pixels per inch, so I’ll leave this dialed in at 300 for our photoshop resolution.

We are not going to want to compress our file so we will leave compression set to None.
These are going to be the optimal settings for shipping our image over.
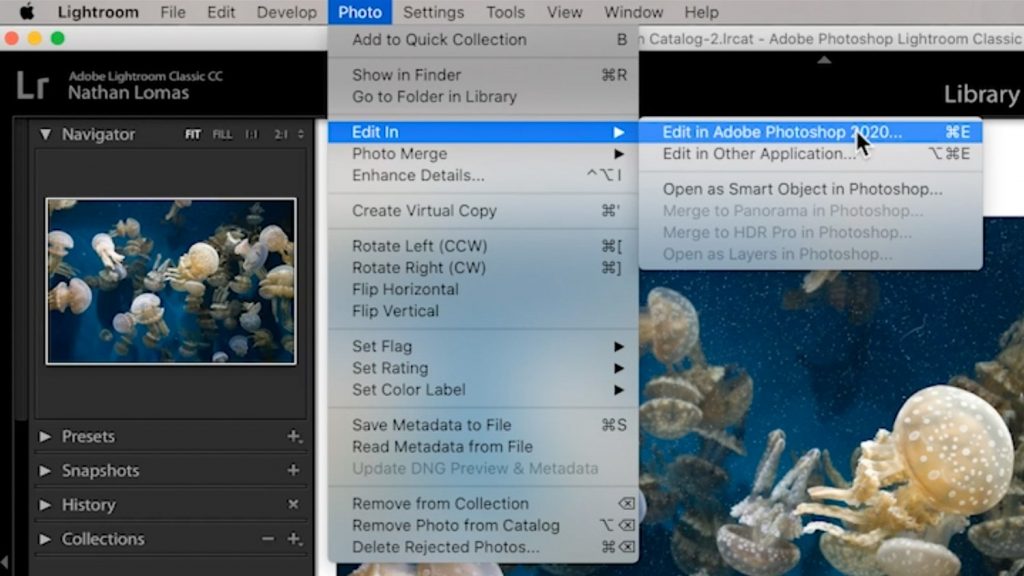
Now if we go ahead in Lightroom and choose the option Photo, Edit in, and then Edit in Photoshop what’s going to happen is Lightroom is going to take a look at the adjustments you’ve made, it’s going to essentially bake those into a file, that it then launches in Photoshop where you can then start to do your retouching work, or your more specific masking, editing, what have you, and then save that edited version back to Lightroom.